Mulch application is more than tossing wood chips on the ground. If you want healthier plants, fewer weeds, and cleaner garden beds, how you apply mulch matters. But many homeowners do it wrong—too thick, too thin, or too close to trunks.
In this blog, you’ll learn how to apply mulch properly, avoid mistakes, and get real results in your yard.
Why Mulch Matters
When applied correctly, mulch does more than make your beds look tidy. It locks in moisture, keeps roots cool in summer, and protects plants in winter.
But poor mulch application?
It suffocates roots, invites pests, and causes mold. That’s why your approach—how you lay it down—makes or breaks its benefits.
1. Choose the Right Mulch Type
Not all mulch is created equal.
- Organic mulch (like bark, leaves, or straw) breaks down and enriches soil.
- Inorganic mulch (rubber or stone) lasts longer but adds no nutrients.
For most homeowners, double-shredded hardwood mulch strikes the right balance: clean look, easy to spread, and decomposes slowly to feed your soil.
If you’re unsure, this mulching guide breaks down what’s best for your lawn goals.
2. Mulch Depth and Distance
This is where most people mess up.
✅ Do:
- Spread mulch 2–3 inches deep
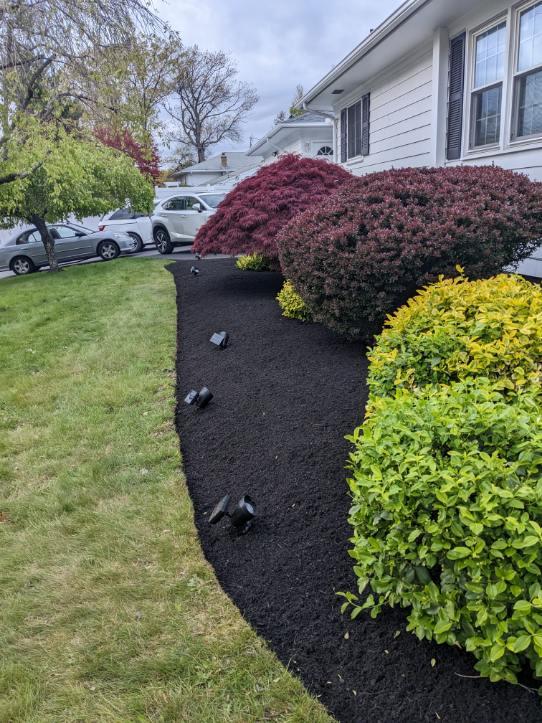
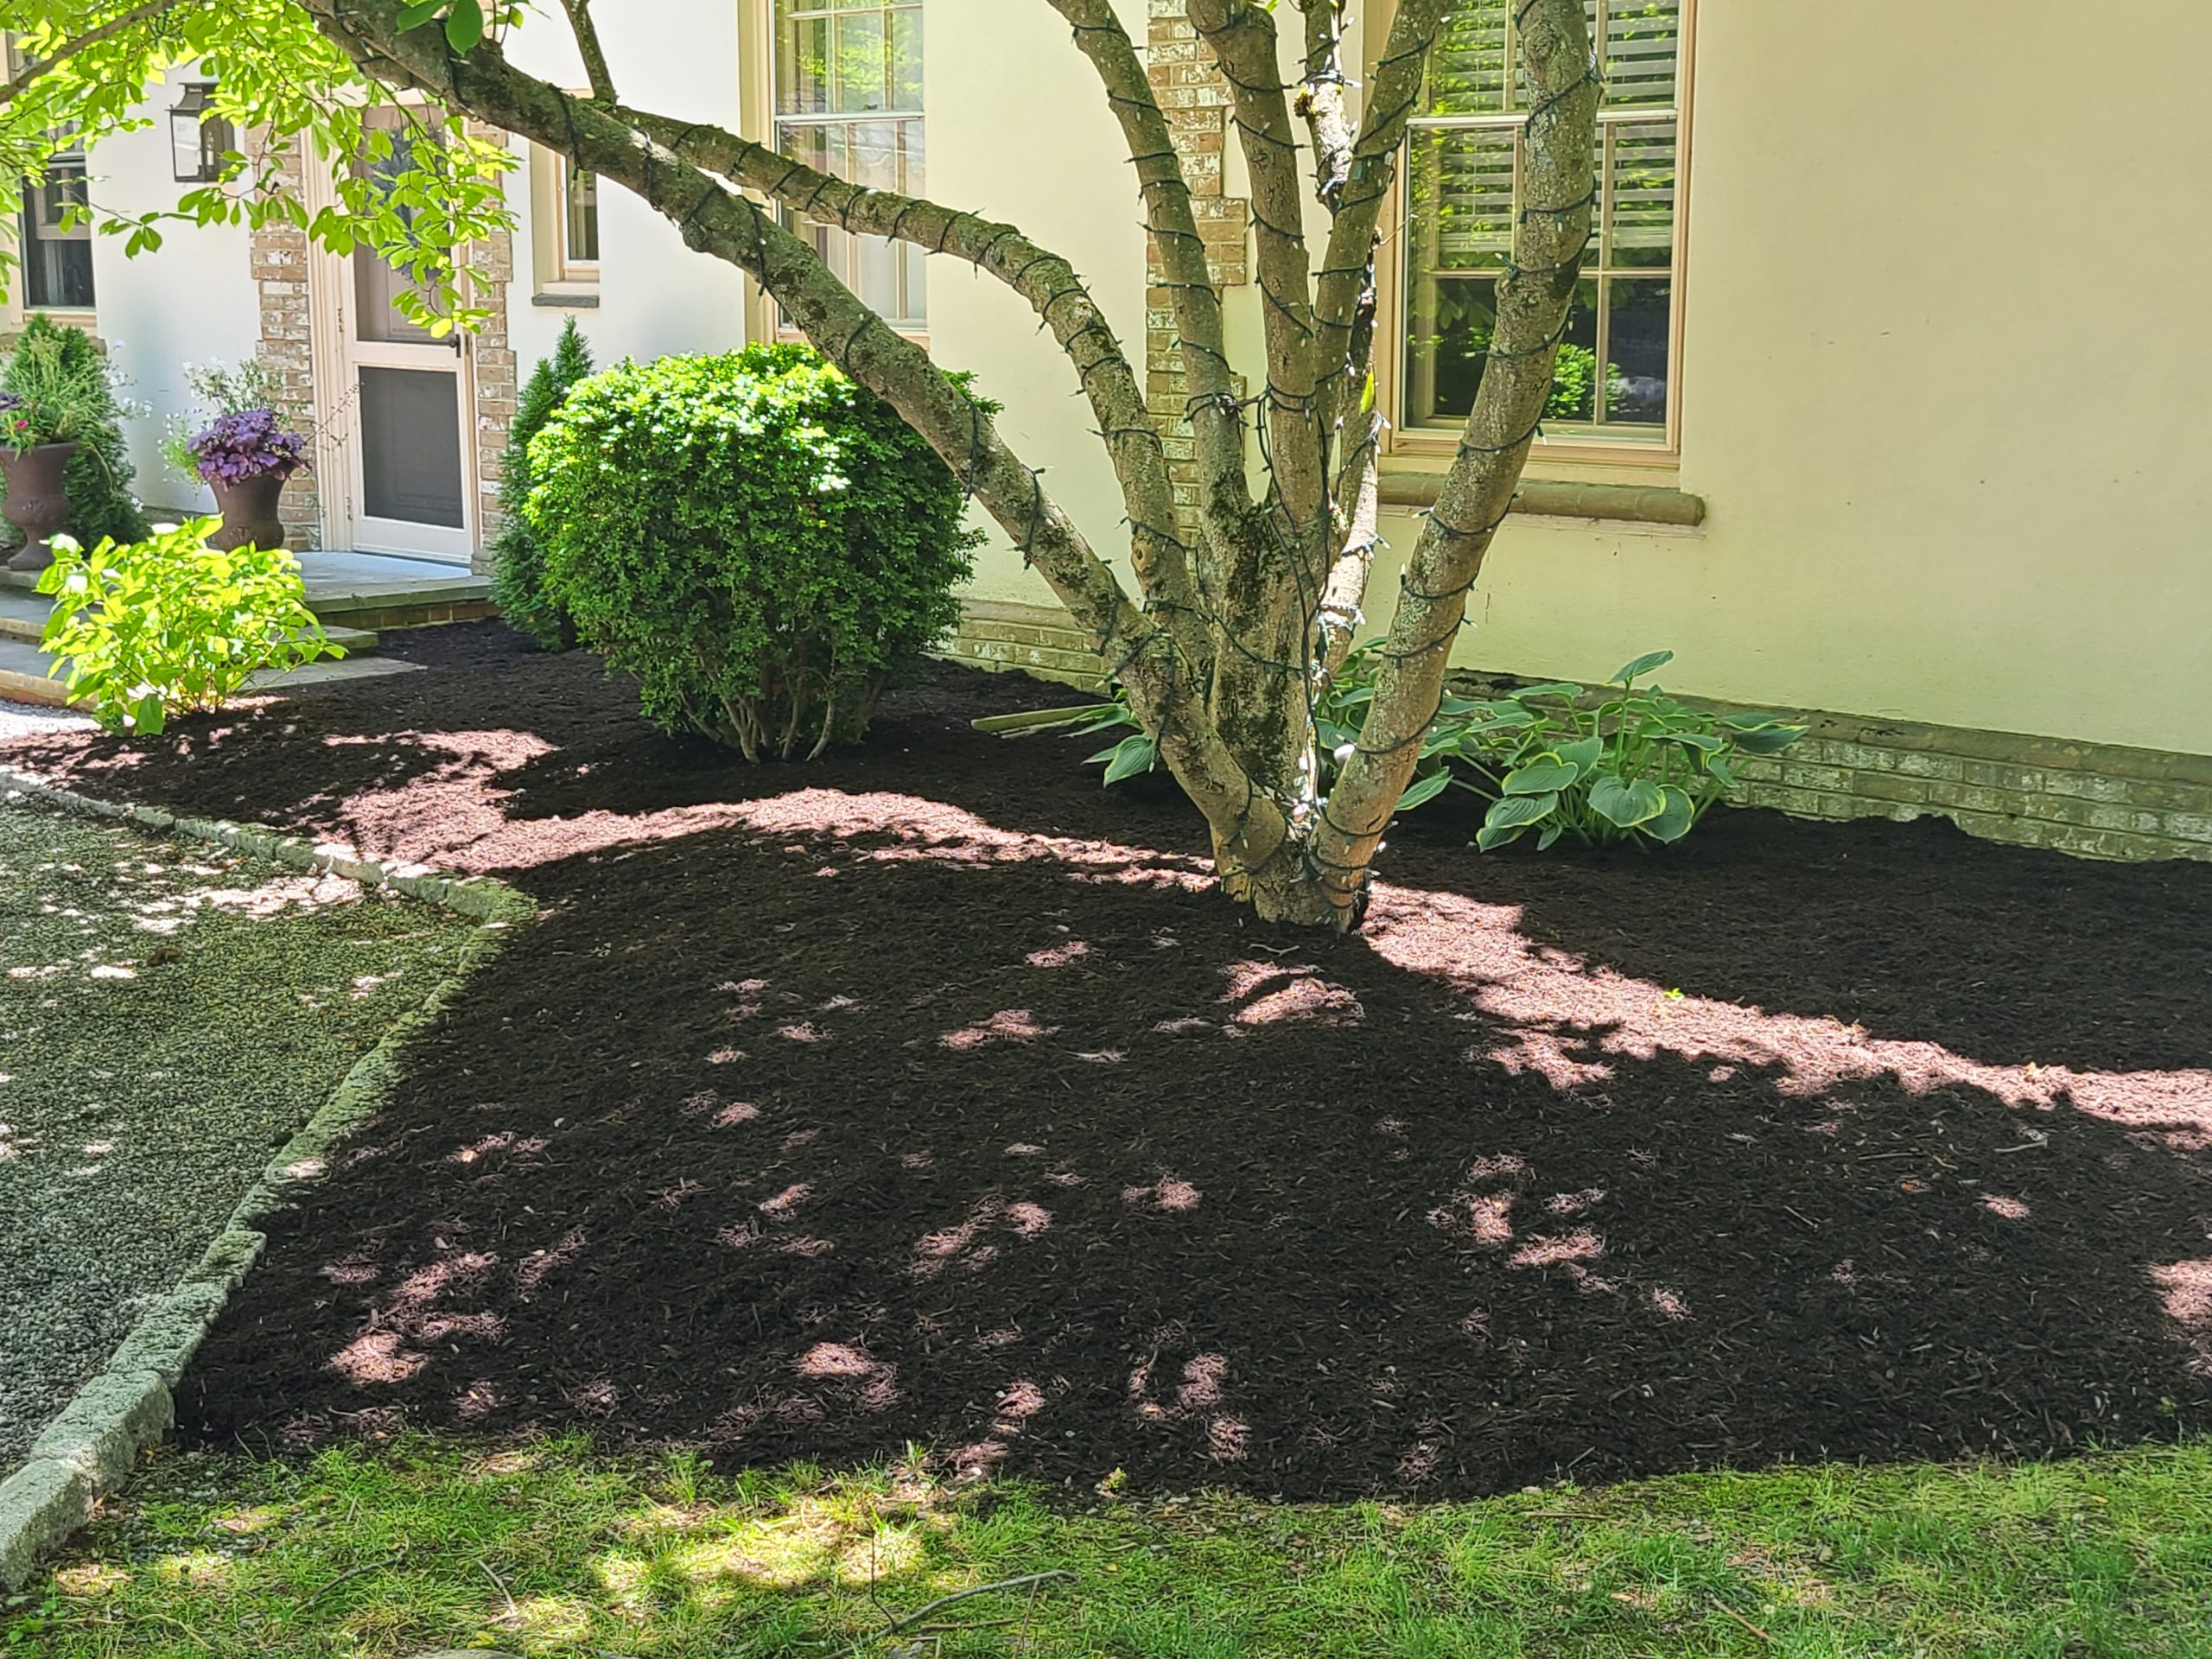
- Keep it 2 inches away from tree trunks and plant stems
❌ Don’t:
- Create “mulch volcanoes” (piling mulch against trunks)
- Use too little—it won’t block weeds or hold moisture
Why it matters: Too much mulch suffocates roots. Too little does nothing. You need just the right amount for it to work.
3. Prepare Your Bed First
You wouldn’t paint over dirty walls, right?
Same rule applies to mulching:
- Pull weeds
- Trim back plants
- Rake soil smooth
- Remove old mulch if it’s compacted or moldy
This step ensures the mulch actually reaches the soil, locks in moisture, and gives you cleaner results.
Want to skip the prep hassle? Our 4-step mulch service does it all for you.
4. Apply Mulch the Right Way
Time to get hands-on.
Step-by-step Mulch Application:
- Dump small piles around the bed
- Use your hands or a rake to spread evenly
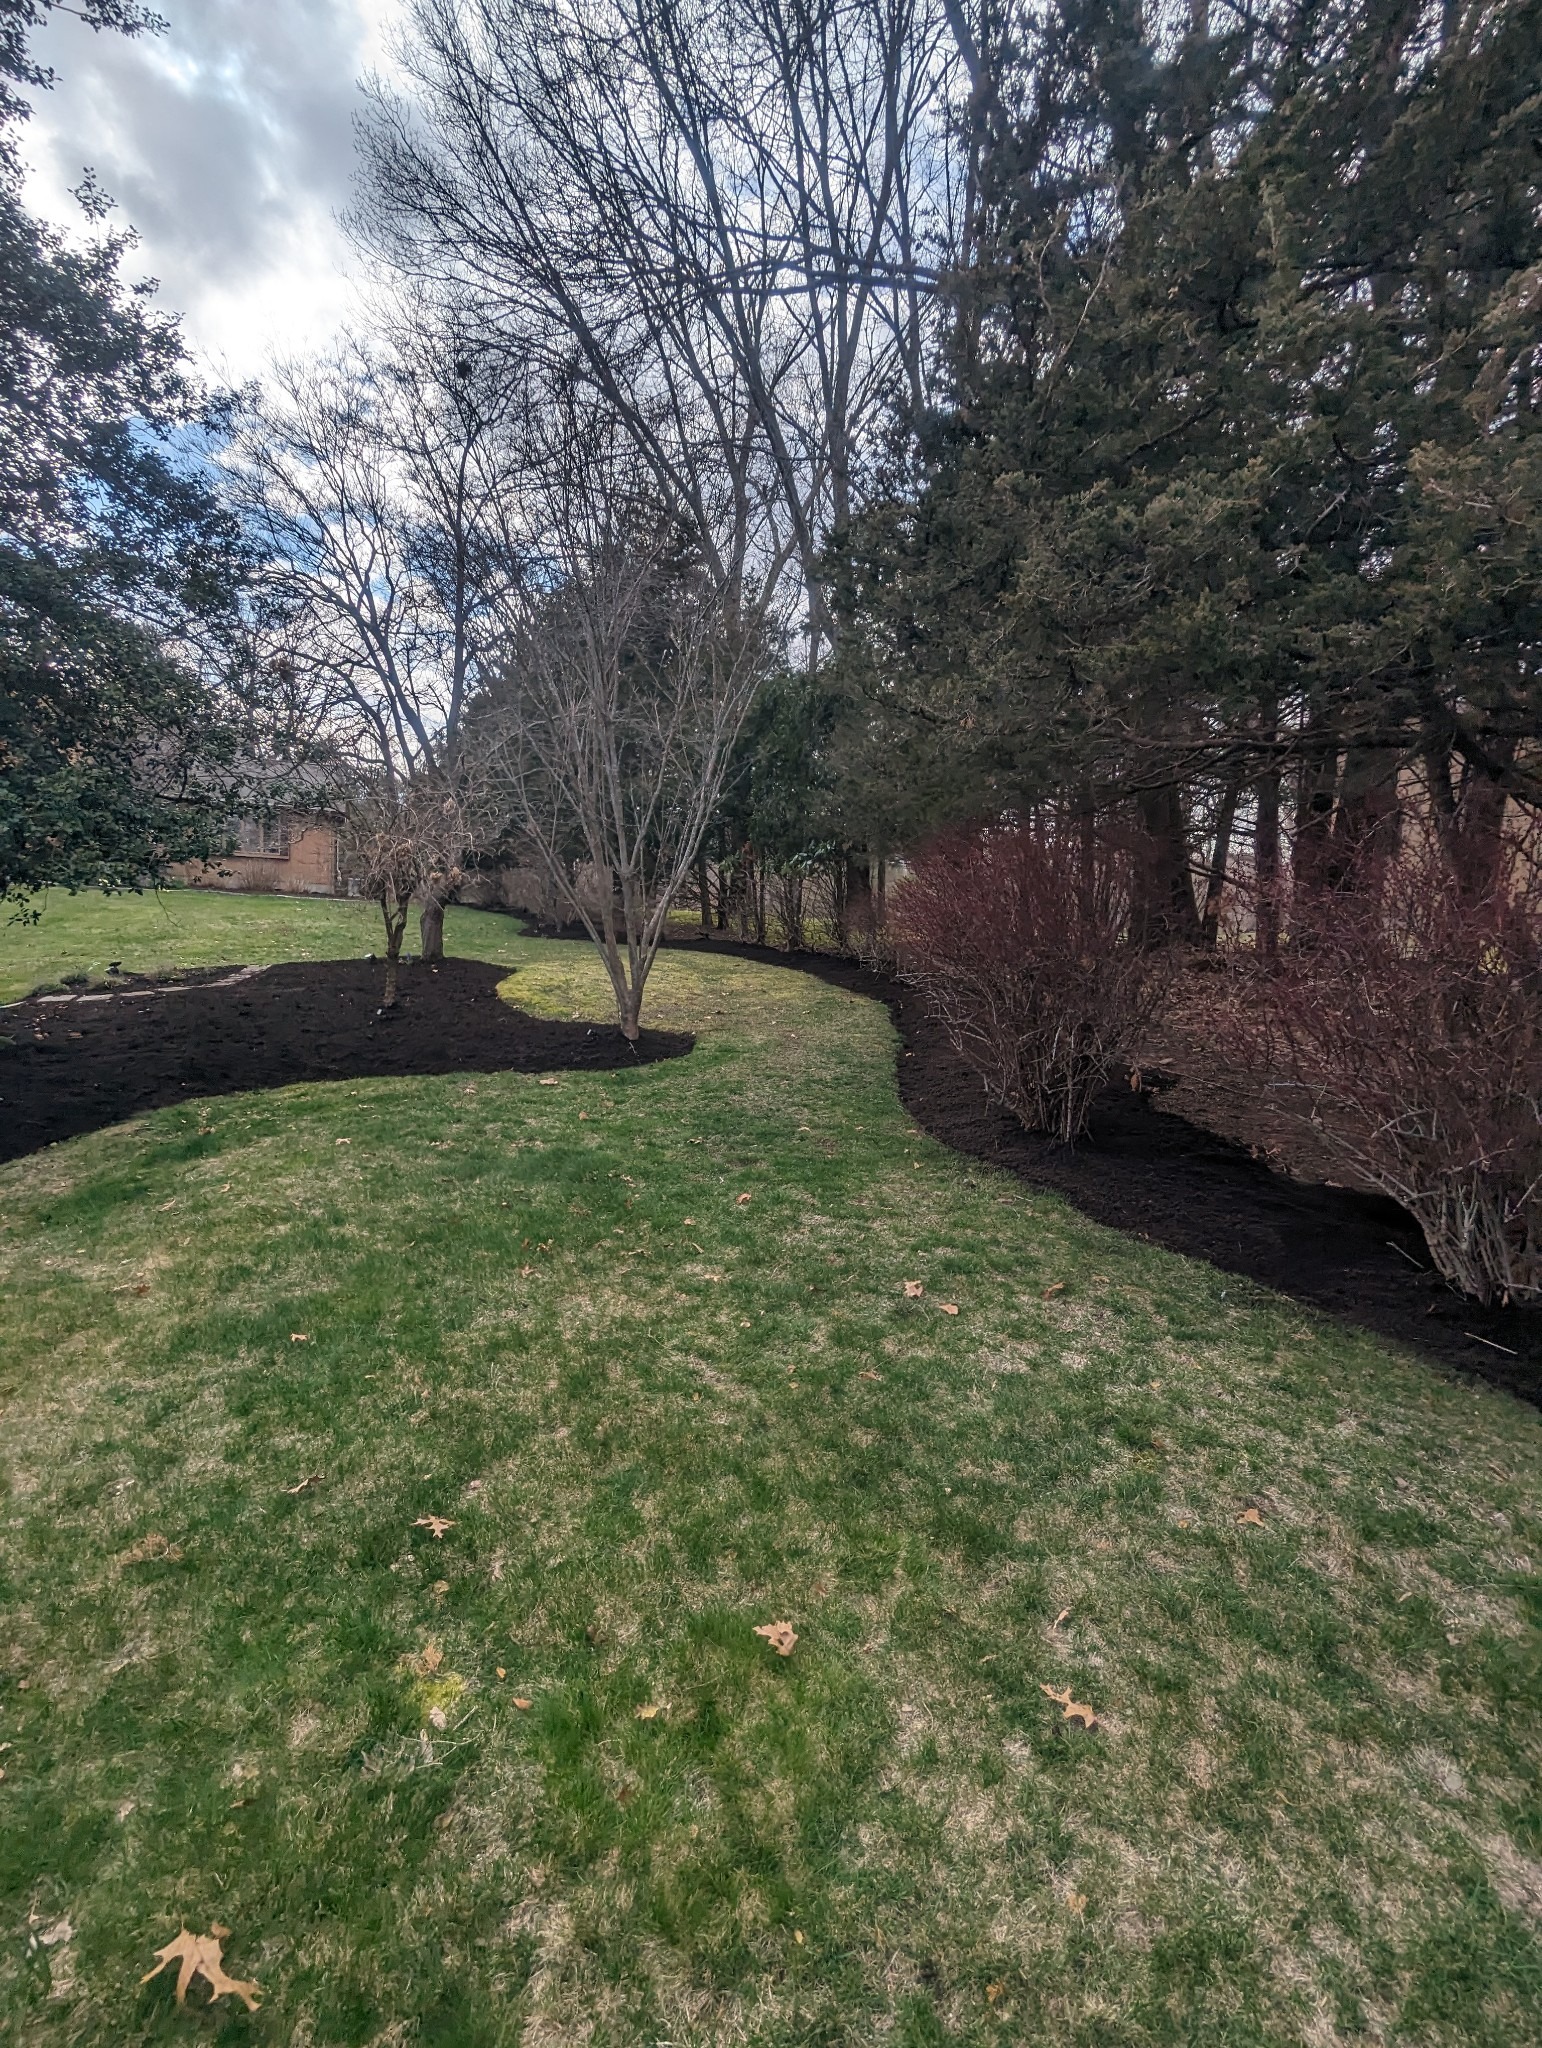
- Taper the edges for a clean finish
- Leave space around plant bases
Work in small sections so you can adjust depth as you go. Don’t rush—precision matters.
Pro tip: For large areas, use a wheelbarrow and scoop mulch with a pitchfork—it saves time and effort. Consistency in thickness is key to avoiding bare patches or soggy spots.
5. When to Apply Mulch (Timing = Results)
Spring is ideal.
It keeps moisture in before the summer heat hits. But fall works too—mulch insulates roots from frost.
Avoid mid-winter or mid-summer: extreme temps lock in problems instead of preventing them.
Final Thoughts
Mulch application doesn’t need to be complicated.
But done wrong, it can harm your plants instead of helping them.
Stick to the basics: pick the right mulch, prep your bed, avoid over-mulching, and keep stems clear.
If that sounds like too much, we can take it off your plate—apply mulch in 4 easy steps with our expert team. A clean, healthy yard is just one mulch layer away.
FAQs
1. How often should I reapply mulch?
Once a year is usually enough—spring or fall. If it looks faded or too thin, top it off.
2. Can I mulch over weeds?
No. Pull them first. Mulching over weeds lets them grow underneath and push through.
3. Should I remove old mulch?
If it’s matted or moldy, yes. Otherwise, fluff it and reuse. Just make sure total depth stays under 3 inches.
Still unsure about your mulch application method? We’d love to help. Follow us for yard tips on Facebook.