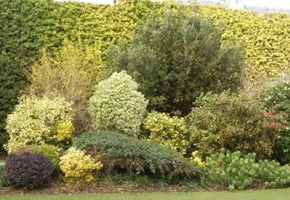
Although it may seem counterintuitive, late summer and early fall are the best times to plant most shrubs and trees. The ground is warm, the air is cooler, and the plants are entering their dormant period and so commit more energy to root development (opposed to foliage/new growth). Planting in the fall will allow your new additions to fully establish themselves before the stress of next summer. Of course, there are still certain steps you must take to ensure best results. If you follow the steps below, then next season you’ll have healthy, established plants.
1. Choosing your plants
Choosing native species is not only environmentally conscious but also more sensible. Native plants are adapted to our climate and will require less watering and time than exotic species. The Audubon Society warns that “landscaping choices have meaningful effects on the populations of birds and the insects they need to survive.” Plants are an important part of our ecosystem and we all benefit when it is healthy. For a helpful list of species native to Rhode Island, check out the Rhode Island Wild Plant Societies website for local resources or the Audubon’s database.
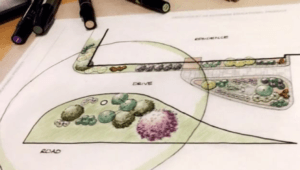
We can’t stress enough the importance of choosing plants appropriate for their location and vice versa. If there is a bush or shrub you absolutely must have, then you will need to find a place in your yard suited to it’s needs. Conversely, if there is an area of your yard that you want to add plantings to, then you must consider the conditions of that area and choose the plant accordingly. We know it is tempting to want a particular plant you love to be in a place you find most appealing, but if that plant isn’t suited for the space (poor drainage, too much sun, too little sun, etc) then it will not thrive and you’ll have wasted precious time and money.
3. Digging the proper hole
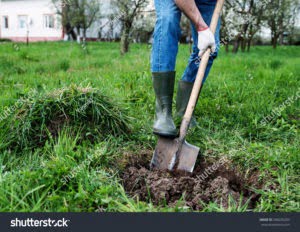
Hole depth and size is of utmost importance when planting. Most people dig a hole barely big enough for the root ball which is, unfortunately, a big mistake. A proper hole should be 2-3 times wider than the root ball but not deeper. We recommend planting high, as that is much safer than planting too deep. It is ok to plant the root ball as much as 25% above the surrounding soil level. The soil will settle which will lead to the base of the plant sinking lower than initial positioning. Thus, if you plant it level with surrounding soil, when it settles it will be below grade and will be more likely to succumb to root rot.
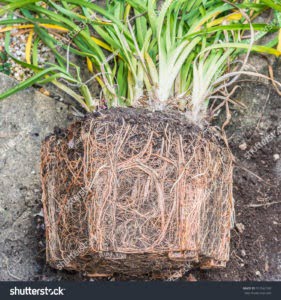
It is extremely important to disturb the root ball before planting. If the roots have been restricted by the pot that it has been in, then it will forever be stunted (or worse) if you do not disturb that pattern of growth. Joe the Gardener says, “Dont worry about hurting the roots or losing soil as you break the roots apart or even cut some away. Better to give them a fresh start than let the constrictive pattern get worse underground.”
5. Don’t fertilize right away!
Do not fertilize you’re new planting until it is well established!! We can not stress this enough. It is important to ensure your soil is healthy, and we do recommend amending with compost, but fertilizing your plant before it’s root system is fully established will put undue stress on it. Give your new plant time to focus its energy on root development rather than new growth.
6. Water, water, water
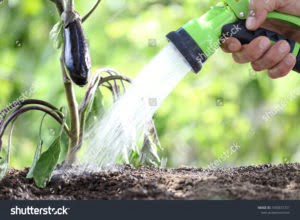
Lastly, your new planting will require daily watering for at least 1 week, then every other day for a few weeks, gradually reducing how much you provide until winter. It will likely need daily watering again next season until it is thoroughly established. Eventually it will require less, fear not, but to ensure you get to that point, you will need to water frequently for the first year or even two! Your time and effort will pay off. If you can, investing in soaker hoses and timers can make all the difference in assuring your plants get the water they need, even if you’re too busy to do it. Remember, landscaping is a long term investment and the money/time/effort you put in now, pays off for years to come.

