
Coventry Lawn and Landscape Services
Are you in need of expert lawn care and landscaping in Coventry? For over 20 years, our team at 855-RILAWNS has been trusted by homeowners and businesses alike to keep their outdoor spaces looking pristine. From routine lawn mowing to sustainable landscaping solutions, we provide services tailored to Coventry’s unique environment and your property’s needs. […]
Cranston Lawn and Landscape Services
Looking for top-notch lawn care and landscaping services in Cranston? At 855-RILAWNS, we’ve proudly served homeowners and businesses in Cranston for over 20 years. Our expert team offers comprehensive lawn care solutions, from regular mowing to custom landscape design, tailored to the needs of Cranston’s climate and your property. Book Our Cranston Lawn Care and […]
Charlestown Lawn and Landscape Services
Looking for reliable and professional lawn care and landscaping services in Charlestown? For over 20 years, we’ve been serving the community with top-notch lawn care, maintenance, and landscaping services. Whether you need routine lawn mowing, seasonal clean-ups, or sustainable gardening solutions, we’re here to make your outdoor space shine. Book Our Charlestown Lawn Care and […]
Barrington Lawn and Landscape Service
Life gets busy. Between work, family, and everything else, taking care of your lawn shouldn’t be another task on your list. Your yard should be a place to relax, not another chore. Whether you’re a homeowner or managing a business in Barrington, an overgrown lawn can be frustrating. That’s where we come in. From simple […]
Signs Your Lawn Is Not Responding to Fertilization
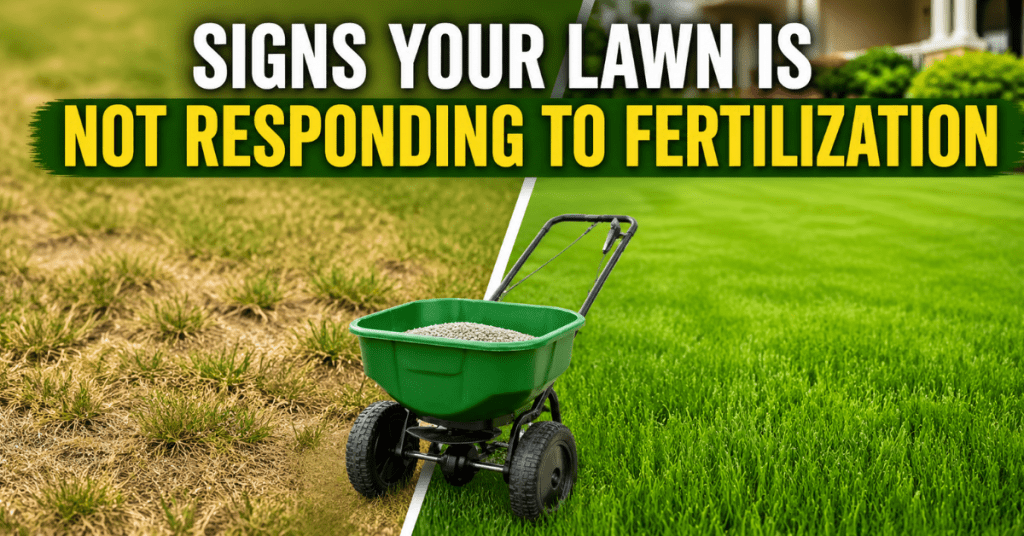
Signs your lawn is not responding to fertilization can be frustrating when you expect greener, thicker growth but see little to no improvement. If you are looking for signs your lawn is not responding to fertilization, we will help you identify what is going wrong and what needs to be fixed. Understanding these signs early […]