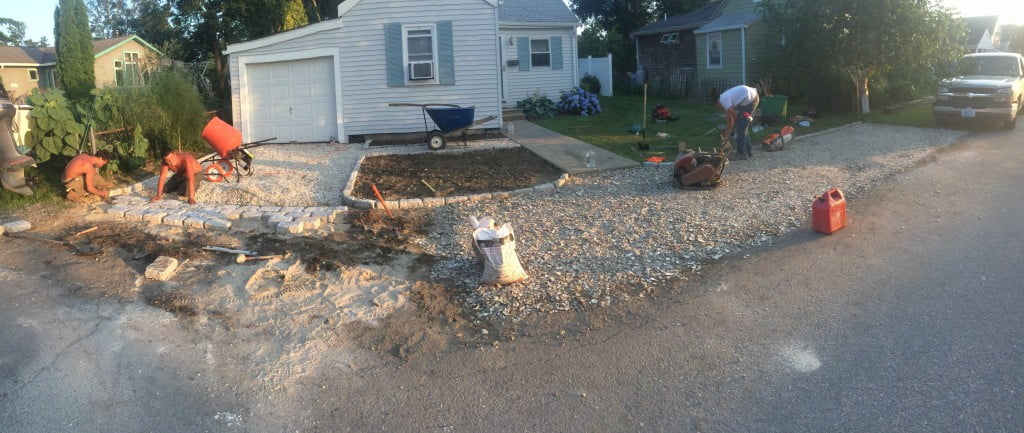
We are becoming known for our shell driveway installs- No wonder as they do really improve the appearance of your home.
The most recent project was a shell driveway install in Jamestown RI. The homeowner had a property with a driveway that was pretty much non-existent as it had been overgrown with grass.
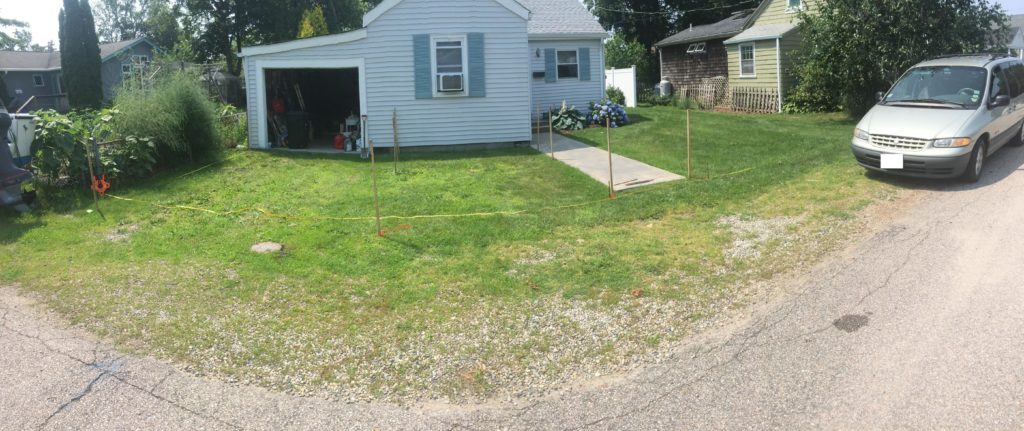
The outline of the property was laid out using string markers. The plan was to:
1) Create a 17 by 12 foot shell driveway
2) Create an 11 by 50 foot driveway “pull”- an extension on the straight driveway
3) Create a 3.5 by 11 foot walkway from the driveway to the concrete path
4) Install an apron made from cobblestones in the driveway.
The first step was excavating the area the driveway would be installed. We needed to excavate to 6″ to ensure there was a solid base underneath the shell to prevent sinking in the future.
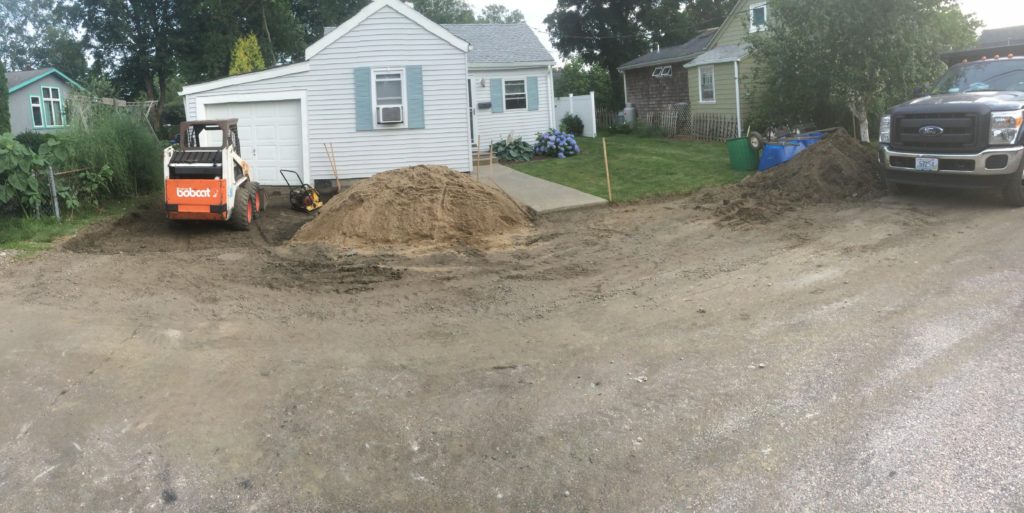
Once the area was excavated with the Bobcat, we brought in processed gravel (pictured above) to create the base. The base was compacted each 2 inches to ensure it was tightly packed.
After the base was laid, 2 inches of crushed seashells were installed.
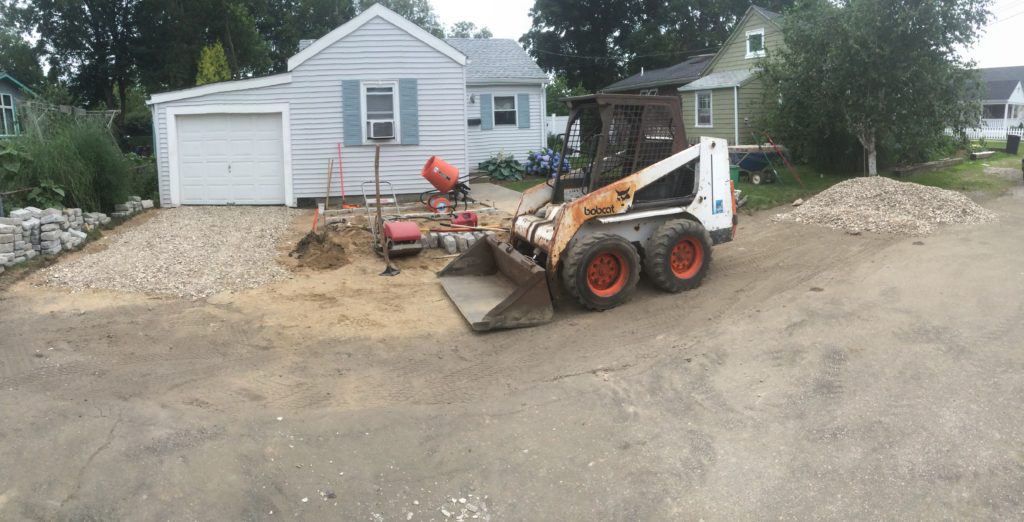
Once the shells were put down, the edges were excavated for the cobblestones. The cobblestones take a lot of precise labor to install them evenly.
Finally, the shell was spread for the pull and the project was complete. Another beautiful shell driveway by A Cut Above!
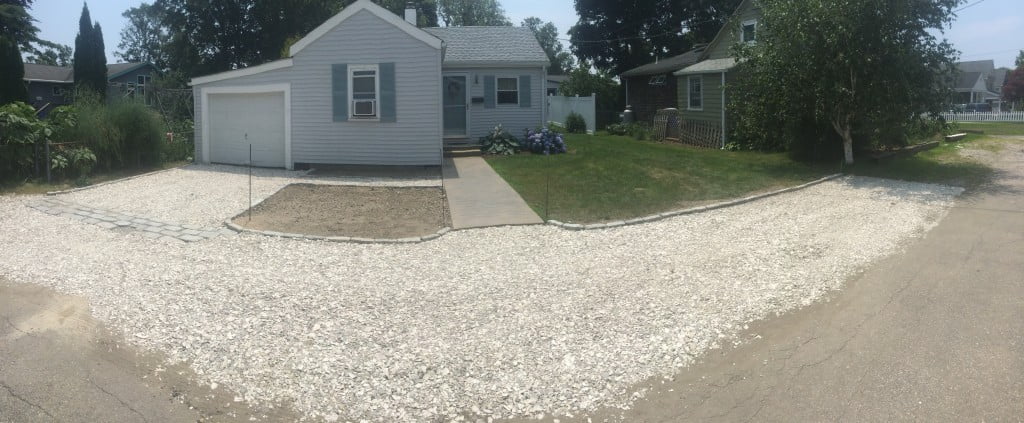
Hardscape Walkway from Driveway to Concrete Path(11′ x 3.5′):
– Excavate at 6 inches for walkway extension
– Dig trench for cobble edging
– Lay stone in edging. Cement blocks in trench
– Spread and compact 4 inches of processed gravel across driveway at 2 inch intervals
– Lay weed fabric
– Spread and compact 2 inches of crushed seashells

