Want your yard to look clean, healthy, and low-maintenance this season?
Learning how to mulch is one of the simplest ways to boost curb appeal and protect your soil—and you don’t need to be a pro to get it right.
In this guide, we’ll break down how to mulch for beginners—step by step. Whether you’re updating a garden bed or mulching around trees, these tips will help you avoid common mistakes and get professional-looking results.
Why Mulch Matters
Before jumping into how to mulch, it’s helpful to know why mulching works:
✅ Prevents weeds
✅ Keeps soil moist
✅ Protects roots from extreme temps
✅ Reduces soil erosion
✅ Makes your landscape look clean and polished
Done right, mulching is low-effort but high impact.
Step 1: Choose the Right Mulch
There are two main types of mulch:
- Organic mulch (like bark, wood chips, and shredded leaves): Improves soil over time as it breaks down.
- Inorganic mulch (like rubber, gravel, or landscape fabric): Longer-lasting but doesn’t add nutrients.
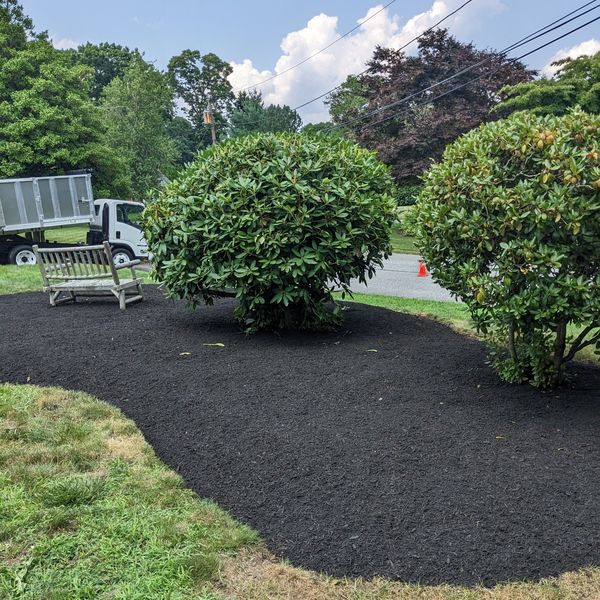
For most yards, organic mulch like natural bark or dark brown dyed mulch is ideal. At 855RILAWNS, we offer top-quality mulch delivered right to your driveway. (Check out our mulch delivery options here.)
Step 2: Measure How Much You Need
One cubic yard of mulch covers about:
- 100 sq. ft. at 3 inches deep
- 160 sq. ft. at 2 inches deep
Use a tape measure to calculate your bed area (Length x Width), then decide on thickness. Most beds only need 2–3 inches of mulch.
Pro tip: If you’re not sure how much you need, our team can help you calculate it before delivery.
Step 3: Clear the Area First
Never mulch on top of weeds or grass.
✔ Pull out weeds by hand or with a hoe
✔ Rake out old mulch if it’s matted or moldy
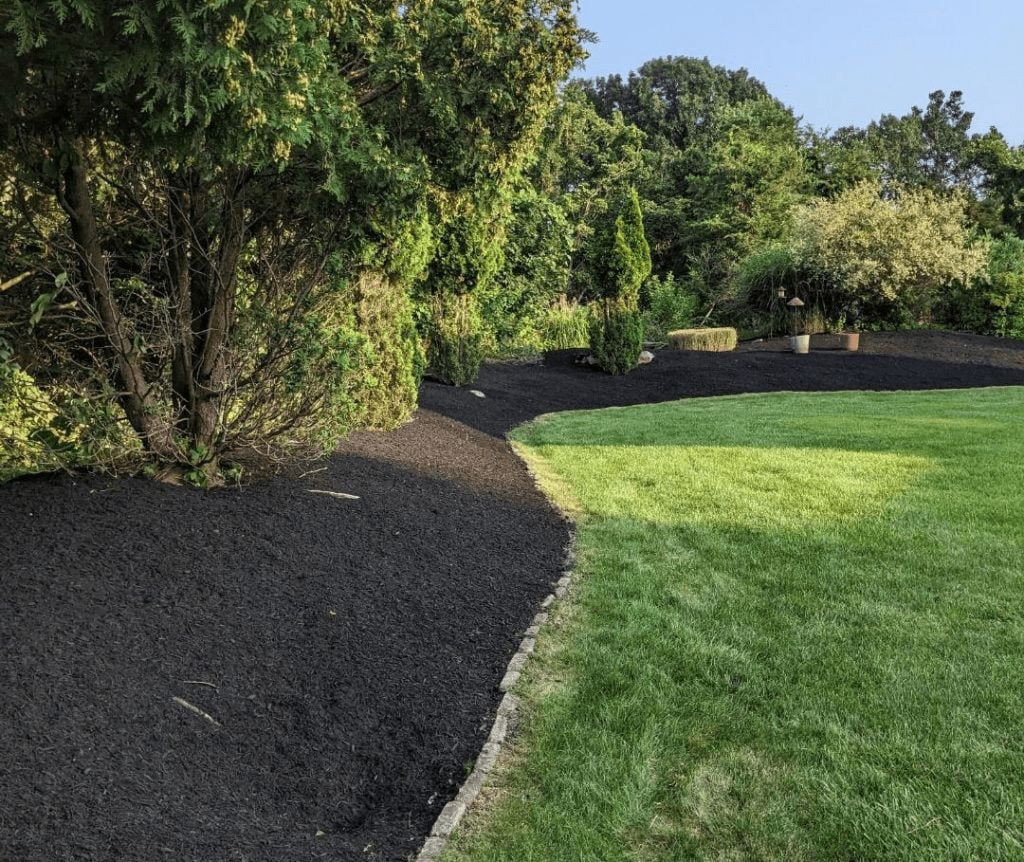
✔ Edge the bed with a flat shovel for clean lines
This preps the area for fresh mulch and prevents weeds from growing back.
Step 4: Lay Down a Weed Barrier (Optional)
Some homeowners like to put landscape fabric under mulch, especially in high-weed areas. It’s not necessary everywhere, but it can help reduce maintenance long-term.
Avoid plastic sheeting—it doesn’t let the soil breathe and can trap moisture in the wrong places.
Step 5: Spread the Mulch Evenly
Here’s where the magic happens.
- Use a wheelbarrow to move mulch
- A pitchfork or rake to spread it
- Aim for 2–3 inches deep
Don’t pile mulch against tree trunks or plant stems (“mulch volcanoes” can cause rot). Leave a few inches of breathing room.
This is one of the most important parts of how to mulch the right way—too much mulch can suffocate your plants, too little won’t suppress weeds.
Step 6: Water Lightly After Mulching
After you spread the mulch, give it a light watering. This helps it settle and keeps it from blowing away.
It also begins the process of breaking down and feeding your soil—especially with bark or wood mulch.
Common Mistakes to Avoid
Here’s what to not do when learning how to mulch:
❌ Mulching too thick (4″+ leads to mold and root suffocation)
❌ Ignoring weeds before laying mulch
❌ Piling it against tree trunks
❌ Using low-quality or sour-smelling mulch (can harm your plants)
Don’t Want the Mess of Picking Up Mulch?
We get it.
If you’re a first-time mulcher, the hardest part might be the heavy lifting—not the spreading.
That’s why 855RILAWNS offers fast, affordable mulch delivery throughout Rhode Island. No need to haul bags from the store or rent a truck.
✅ Choose your mulch type
✅ Schedule online
✅ Delivered to your driveway, on your schedule
Explore our delivery options here: https://rilawncare.com/mulch-delivery/
Final Thoughts: Mastering How to Mulch
Now that you know how to mulch, you’re one step closer to a yard that looks clean, healthy, and well-maintained.
It’s one of the easiest weekend projects you can do with big impact—just follow these steps and skip the guesswork.
Need mulch delivered fast and reliably? Call 855-745-2967 or visit rilawncare.com to schedule your order.