
The Best Tips for Healthy Trees and Shrubs
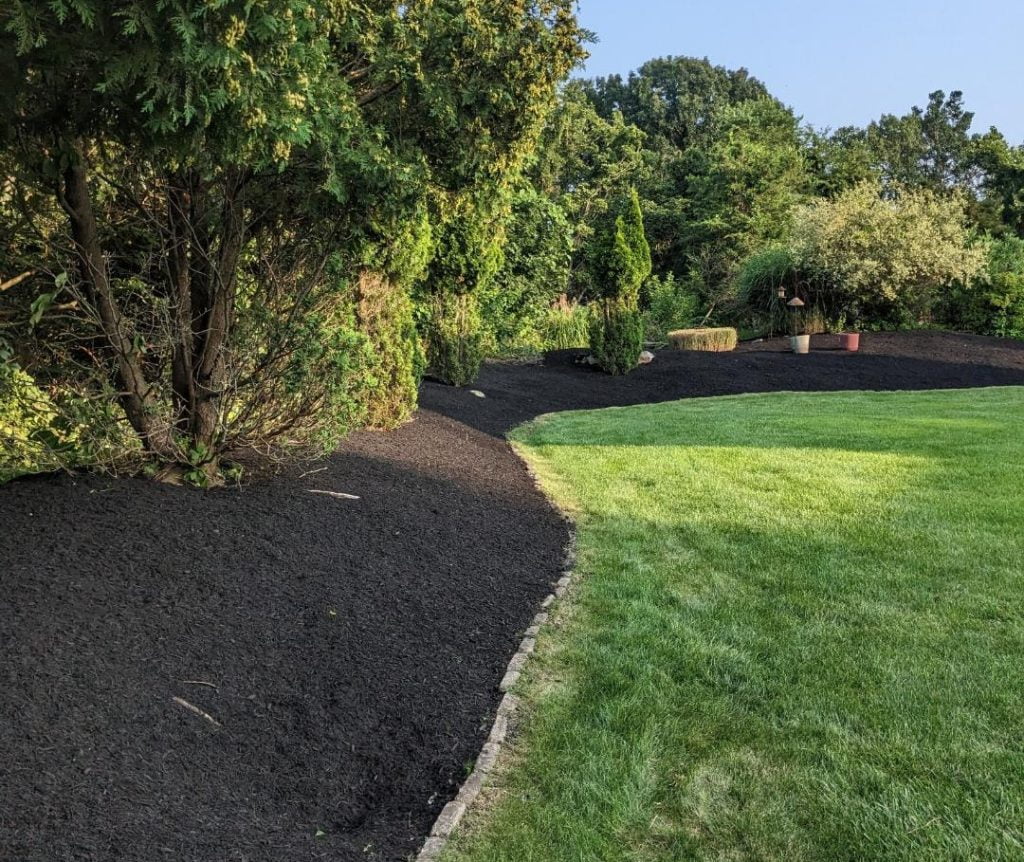
You don’t need to be a green thumb to keep your trees and shrubs looking great. Just a little time and attention. We’re sharing our simple strategies for healthy trees and shrubs.
Understanding the Why and How of Soil Testing
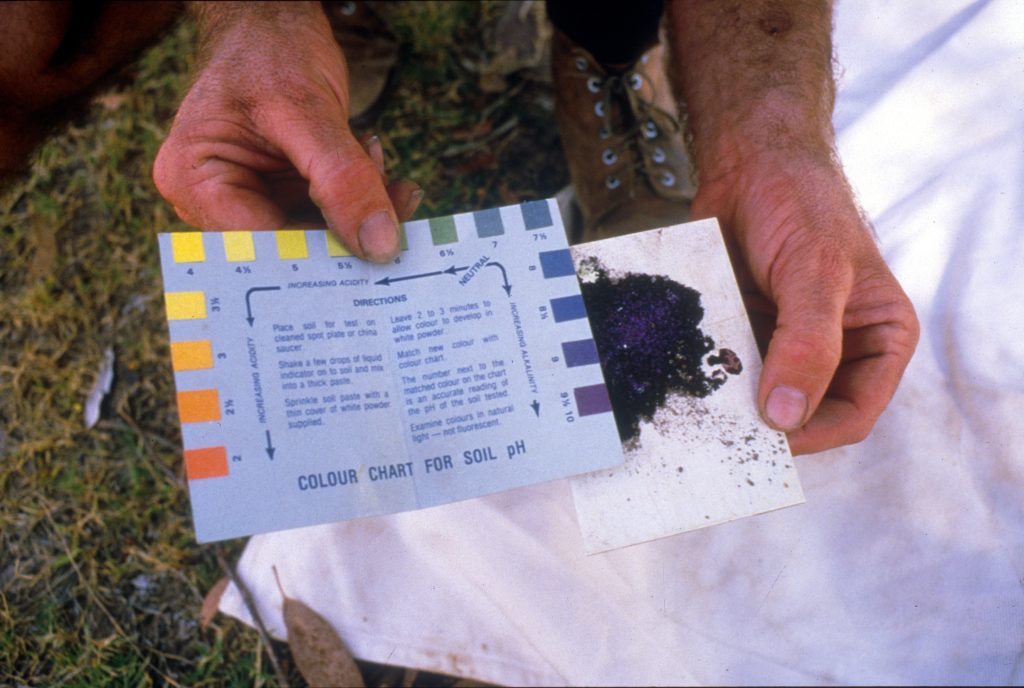
Regular soil testing is an important part of lawn care and landscape management. Come learn about the why and how!
Winter Lawn Care Tips
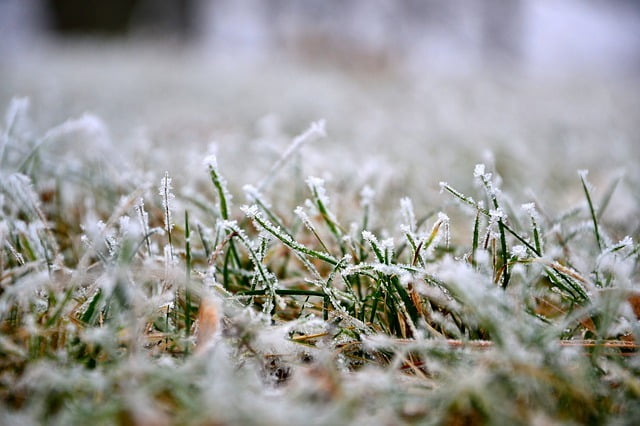
Taking care of your lawn through the winter is the first step to a beautiful landscape next spring. We’ve put together the best winter lawn care tips to help you get started!
How to Winterize Your Lawn and the Benefits
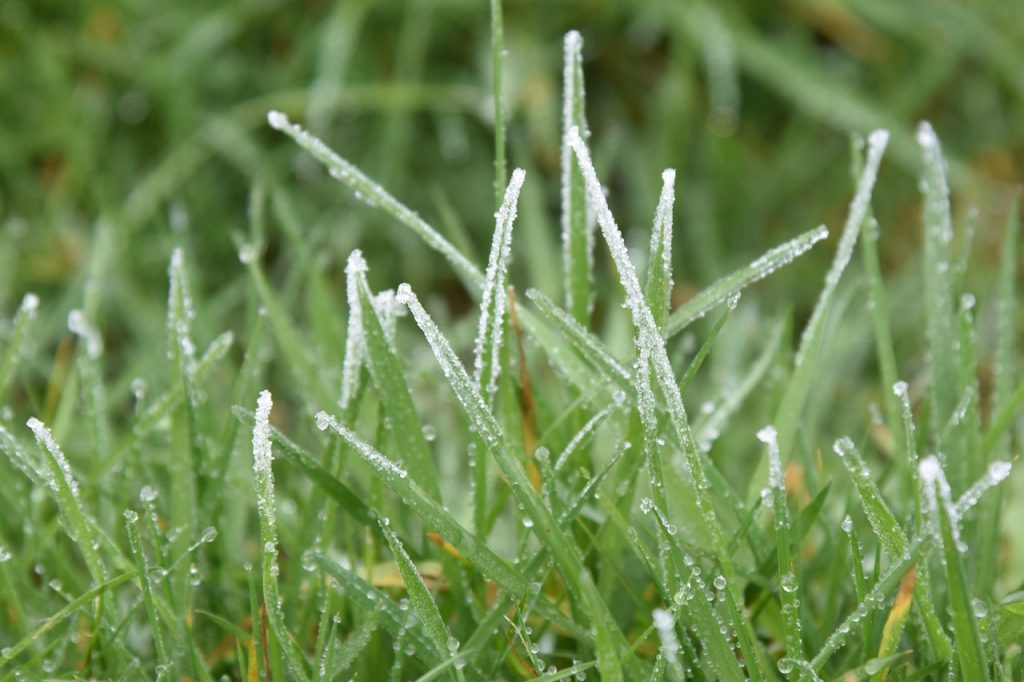
Today we’re talking about how to winterize your lawn and the benefits. Fall is an important time for critical lawn care tasks like fertilizing and adding lime. Applying both before winter helps your grass stay healthy when it’s cold and green-up quickly in the spring.
7 Benefits of a Professional Fall Yard Cleanup
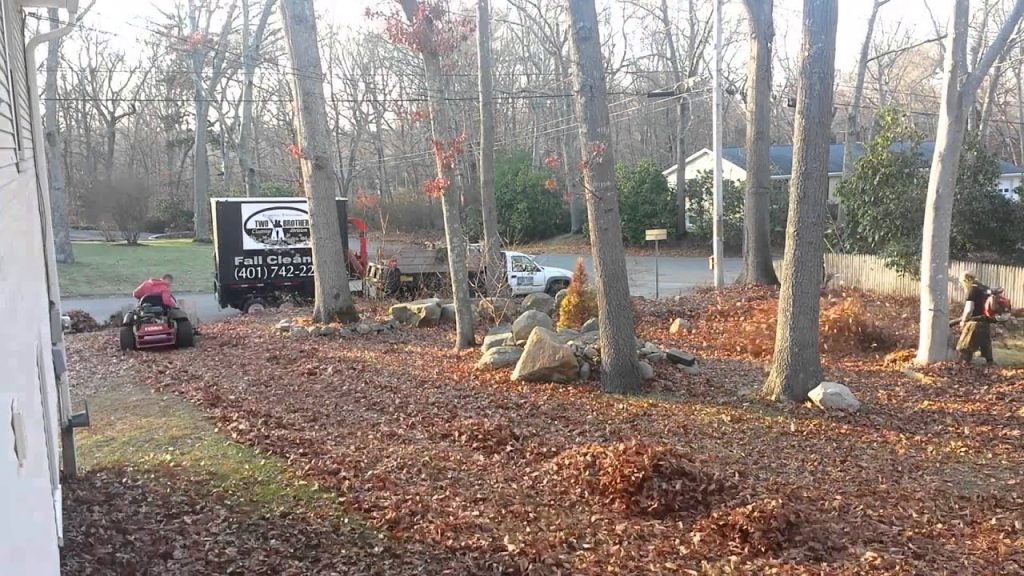
Season cleanup is important for a healthy lawn. Come discover the 7 benefits of a professional fall yard cleanup!